Connect to Witboost MCP Server
This product demo highlights how to connect to the Witboost MCP Server to explore Data Products in the marketplace
1. Open Claude
It demonstrates the process of establishing a connection and exploring data products

2. Settings
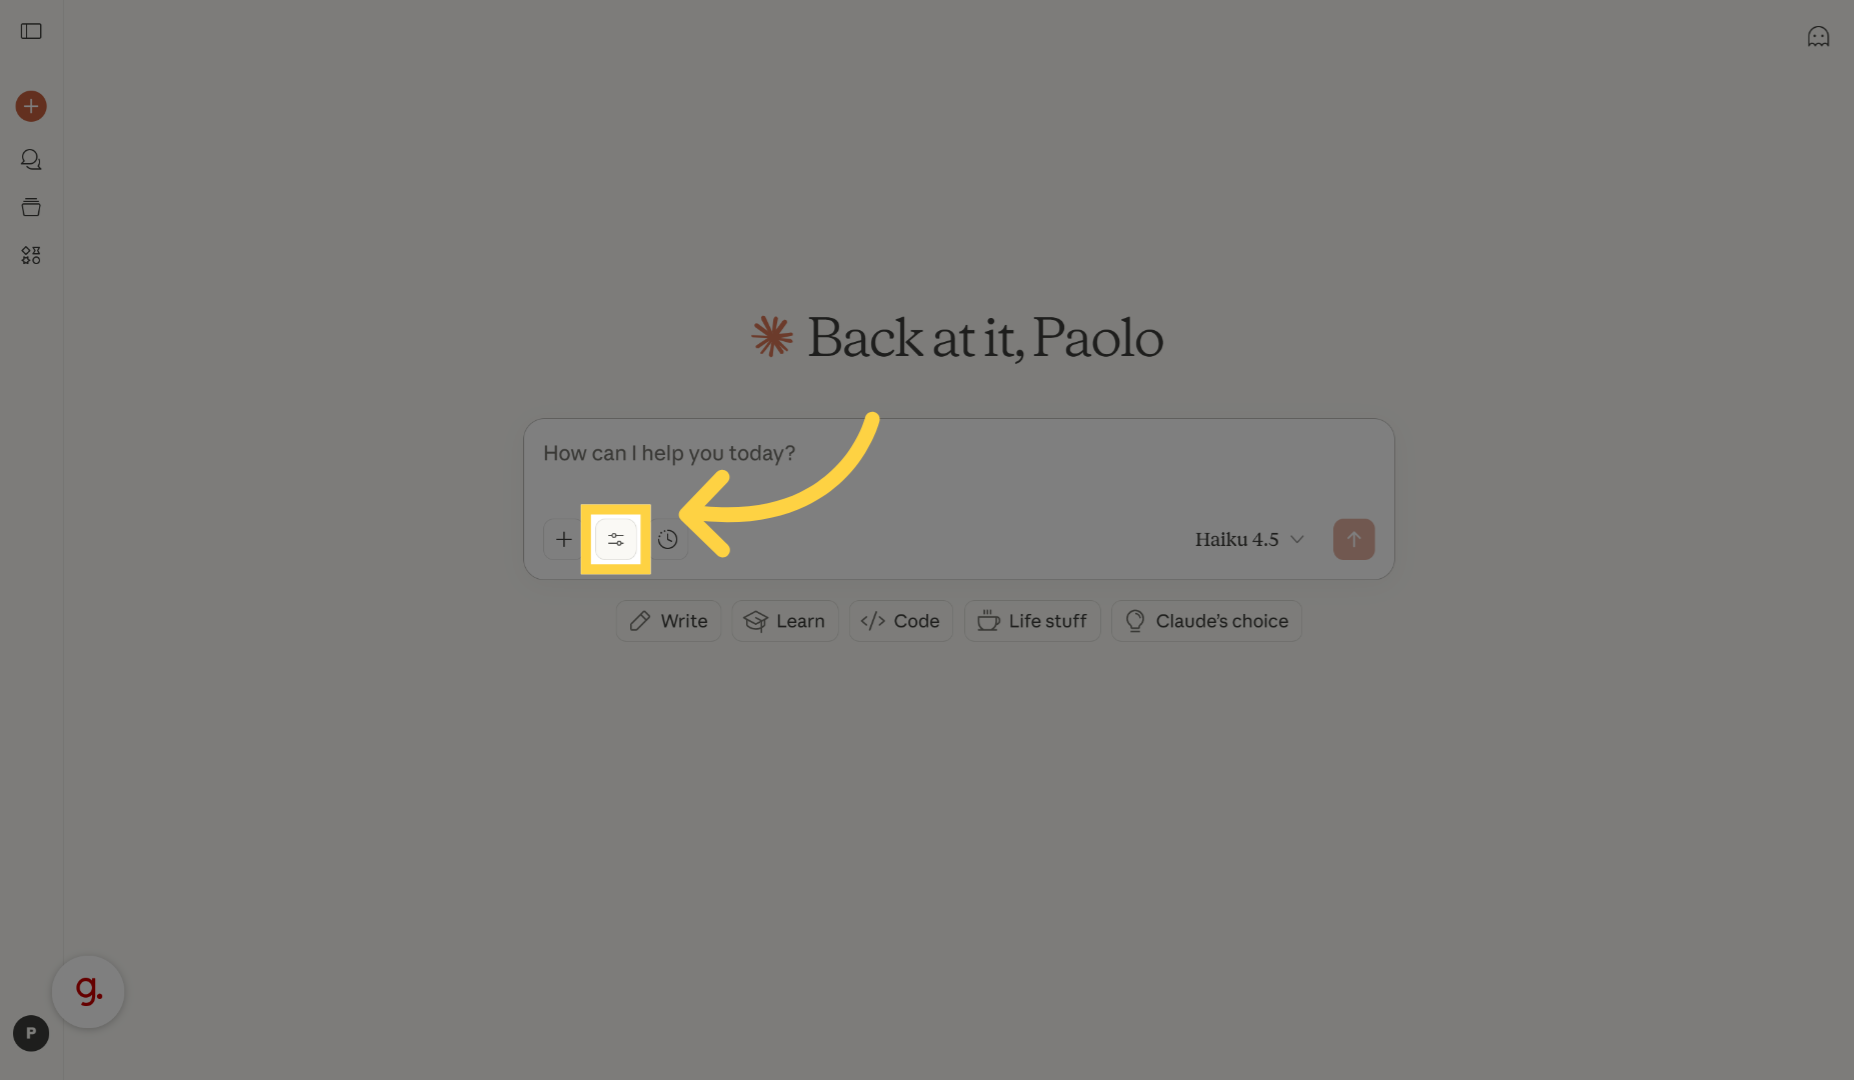
Click here to access the connector management area where you can oversee integrations.
3. Manage Connectors
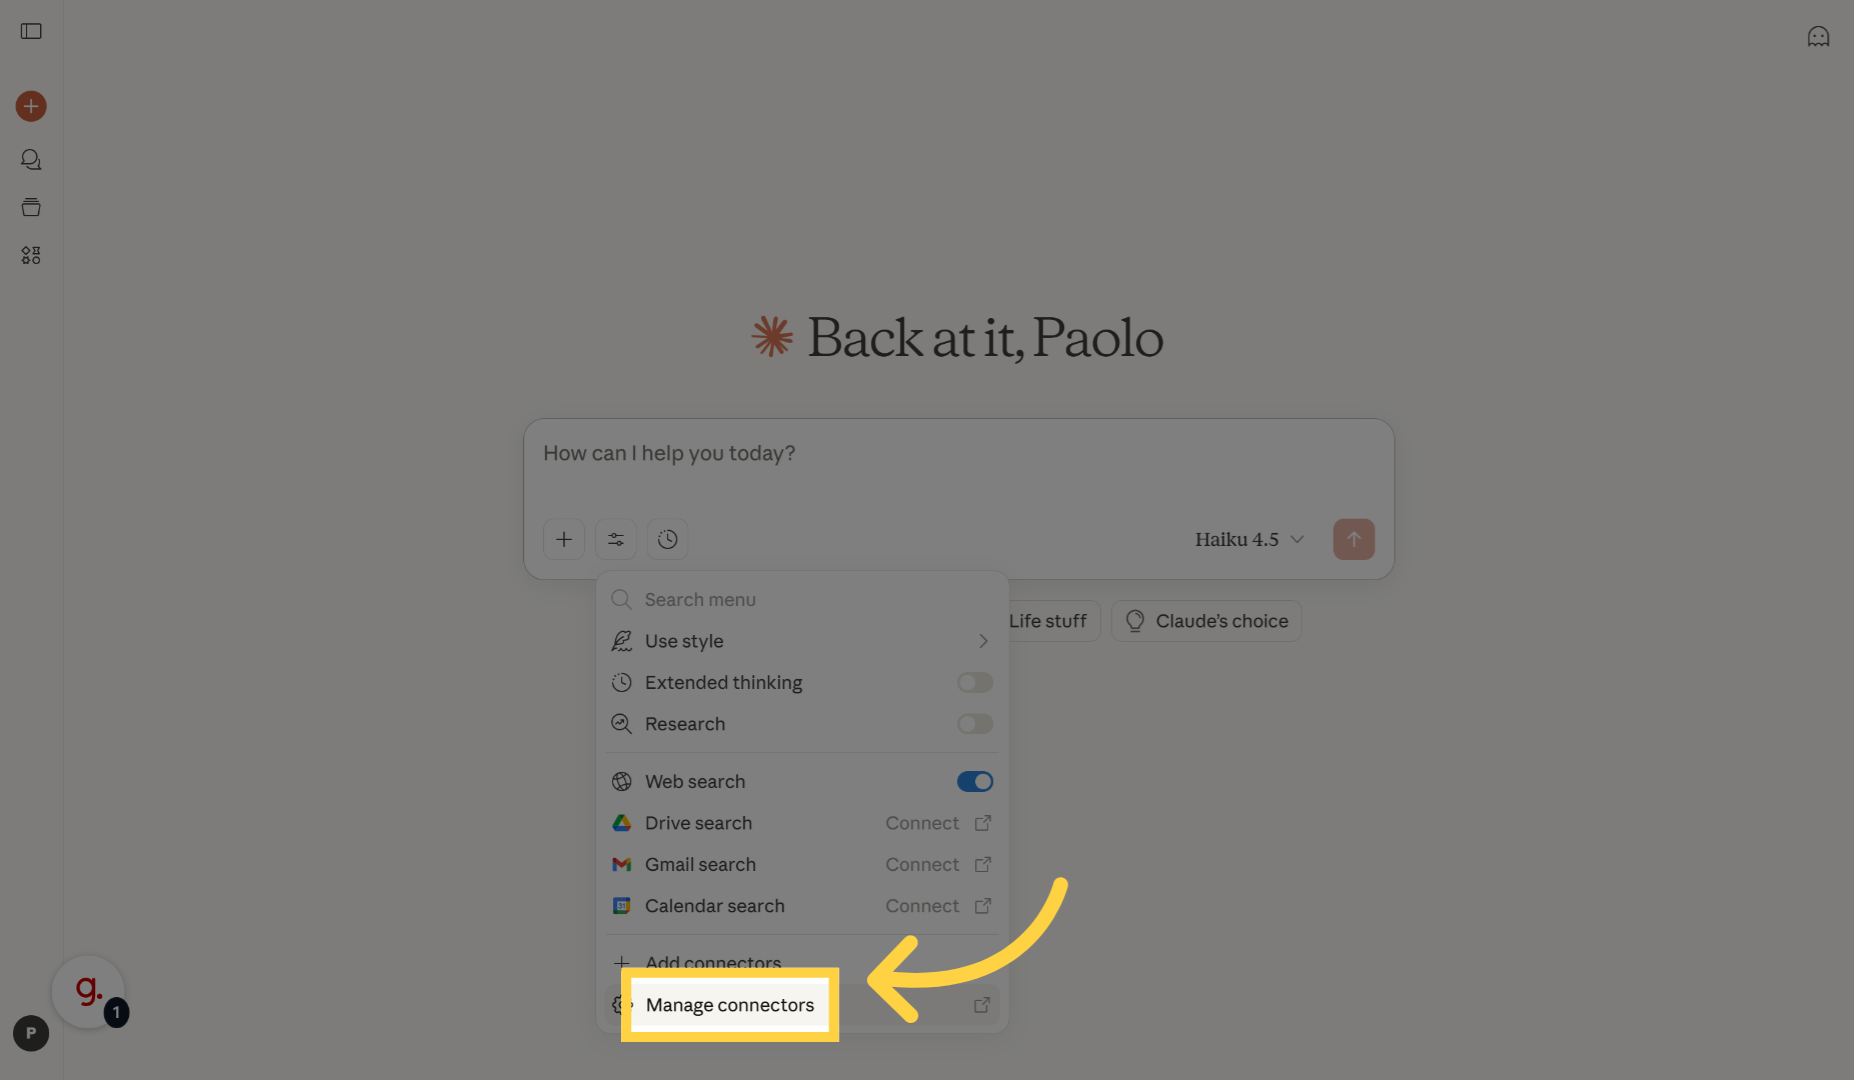
Click "Manage connectors" to view and control your existing connectors.
4. Add Custom Connector
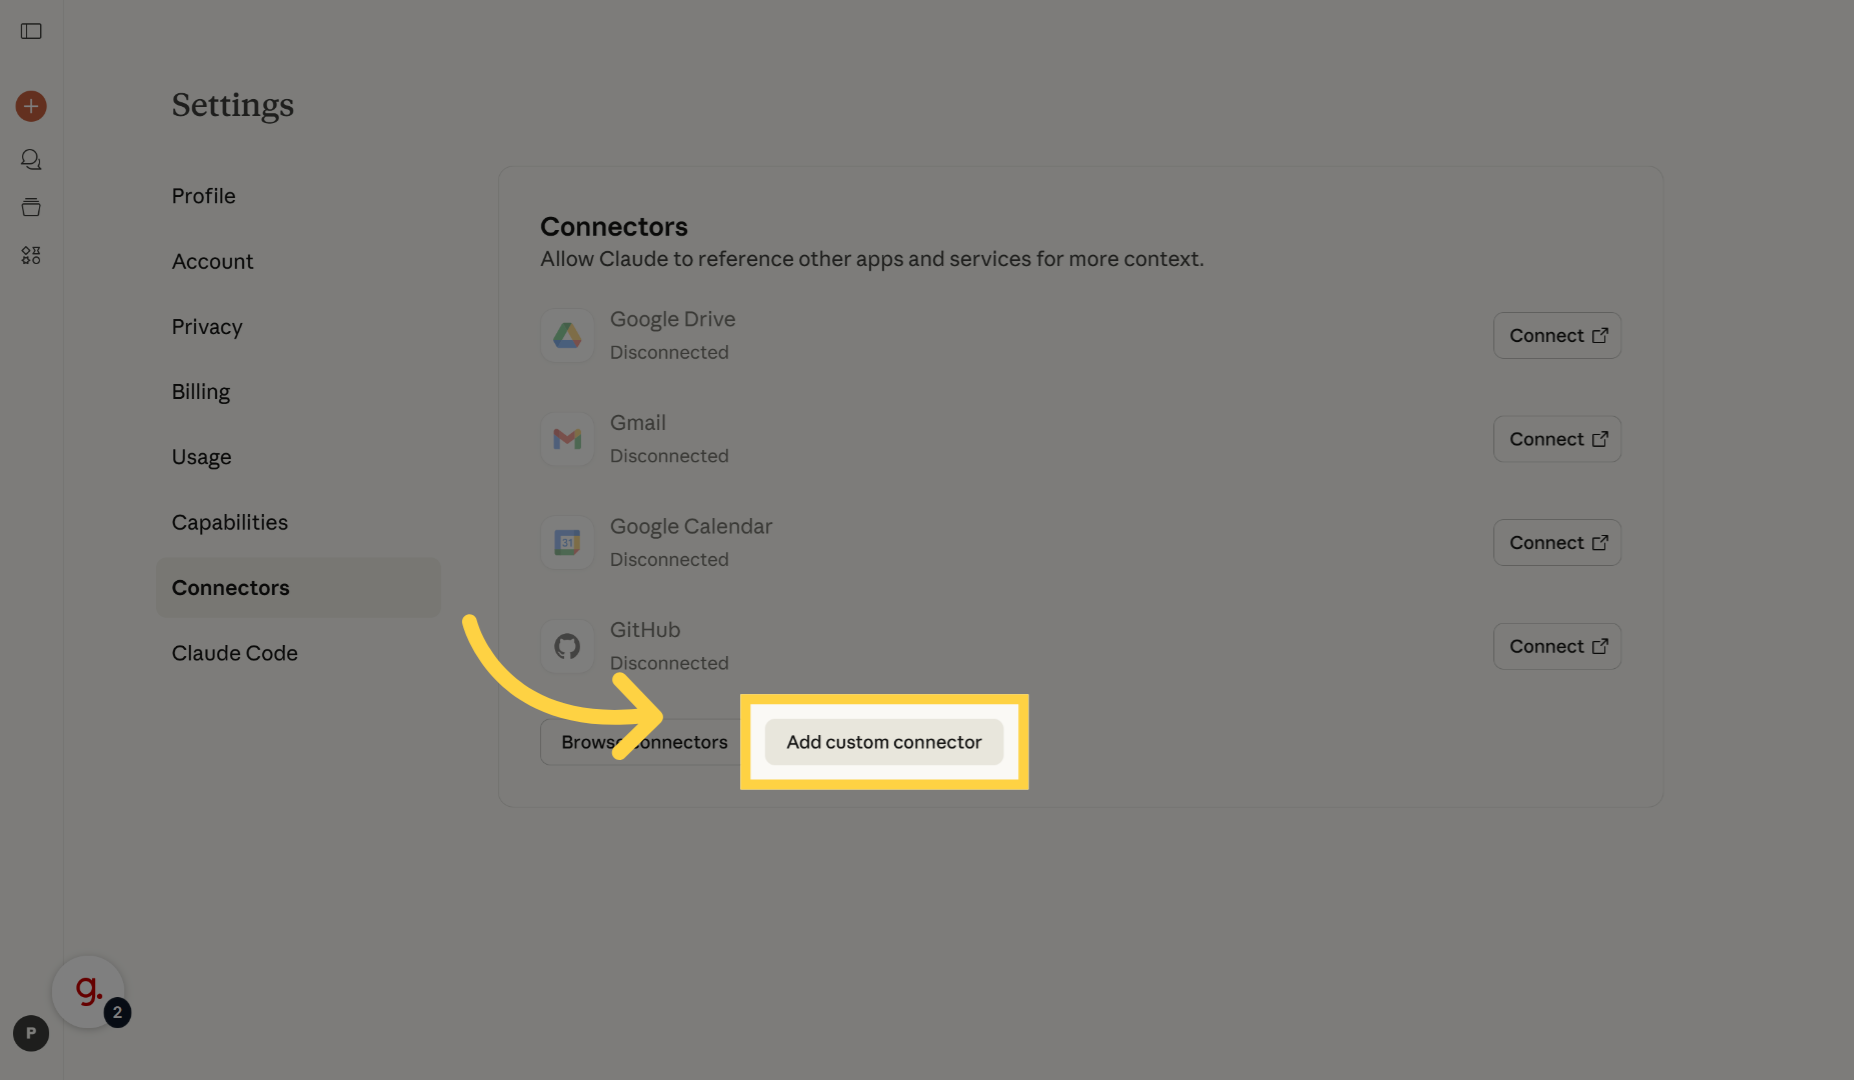
Click "Add custom connector" to start setting up a new integration.
5. Name Custom Connector
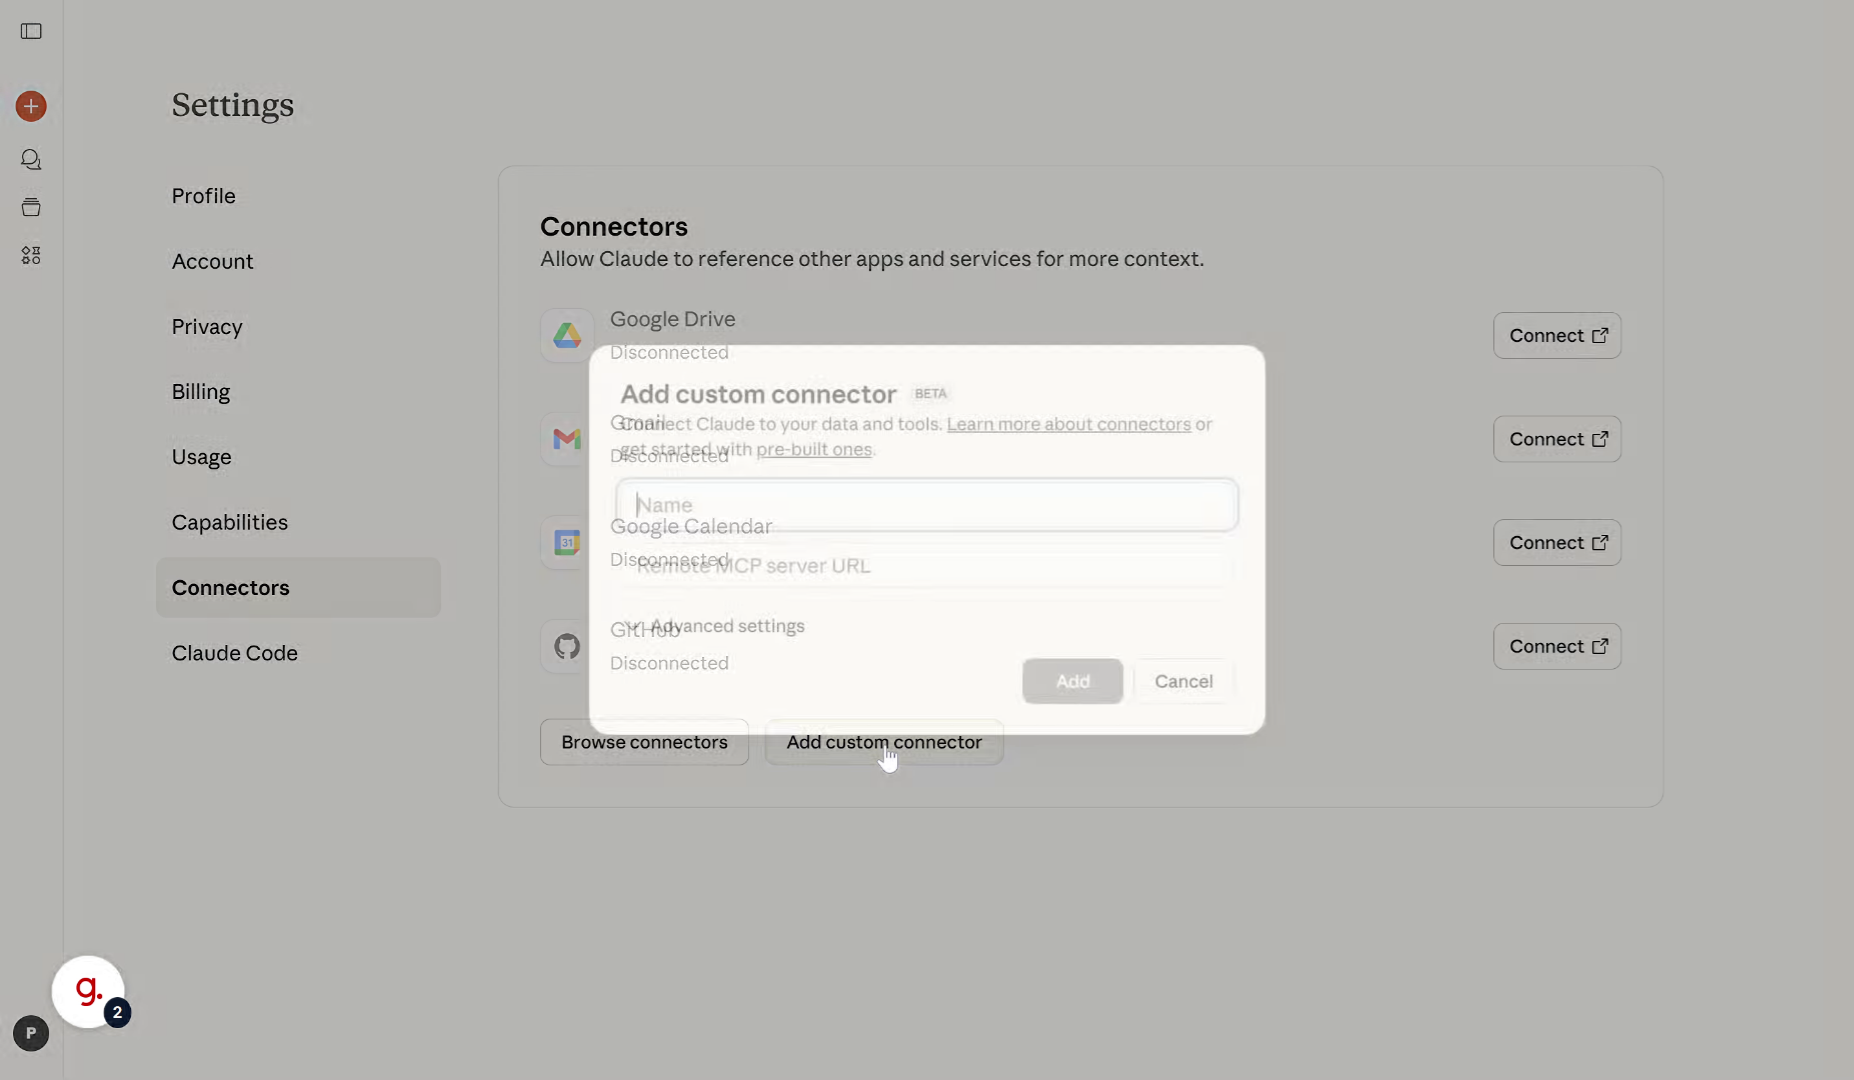
Enter the name of your custom connector as "Witboost"
6. Enter MCP Server URL
Insert the URL of your Witboost installation MCP Server
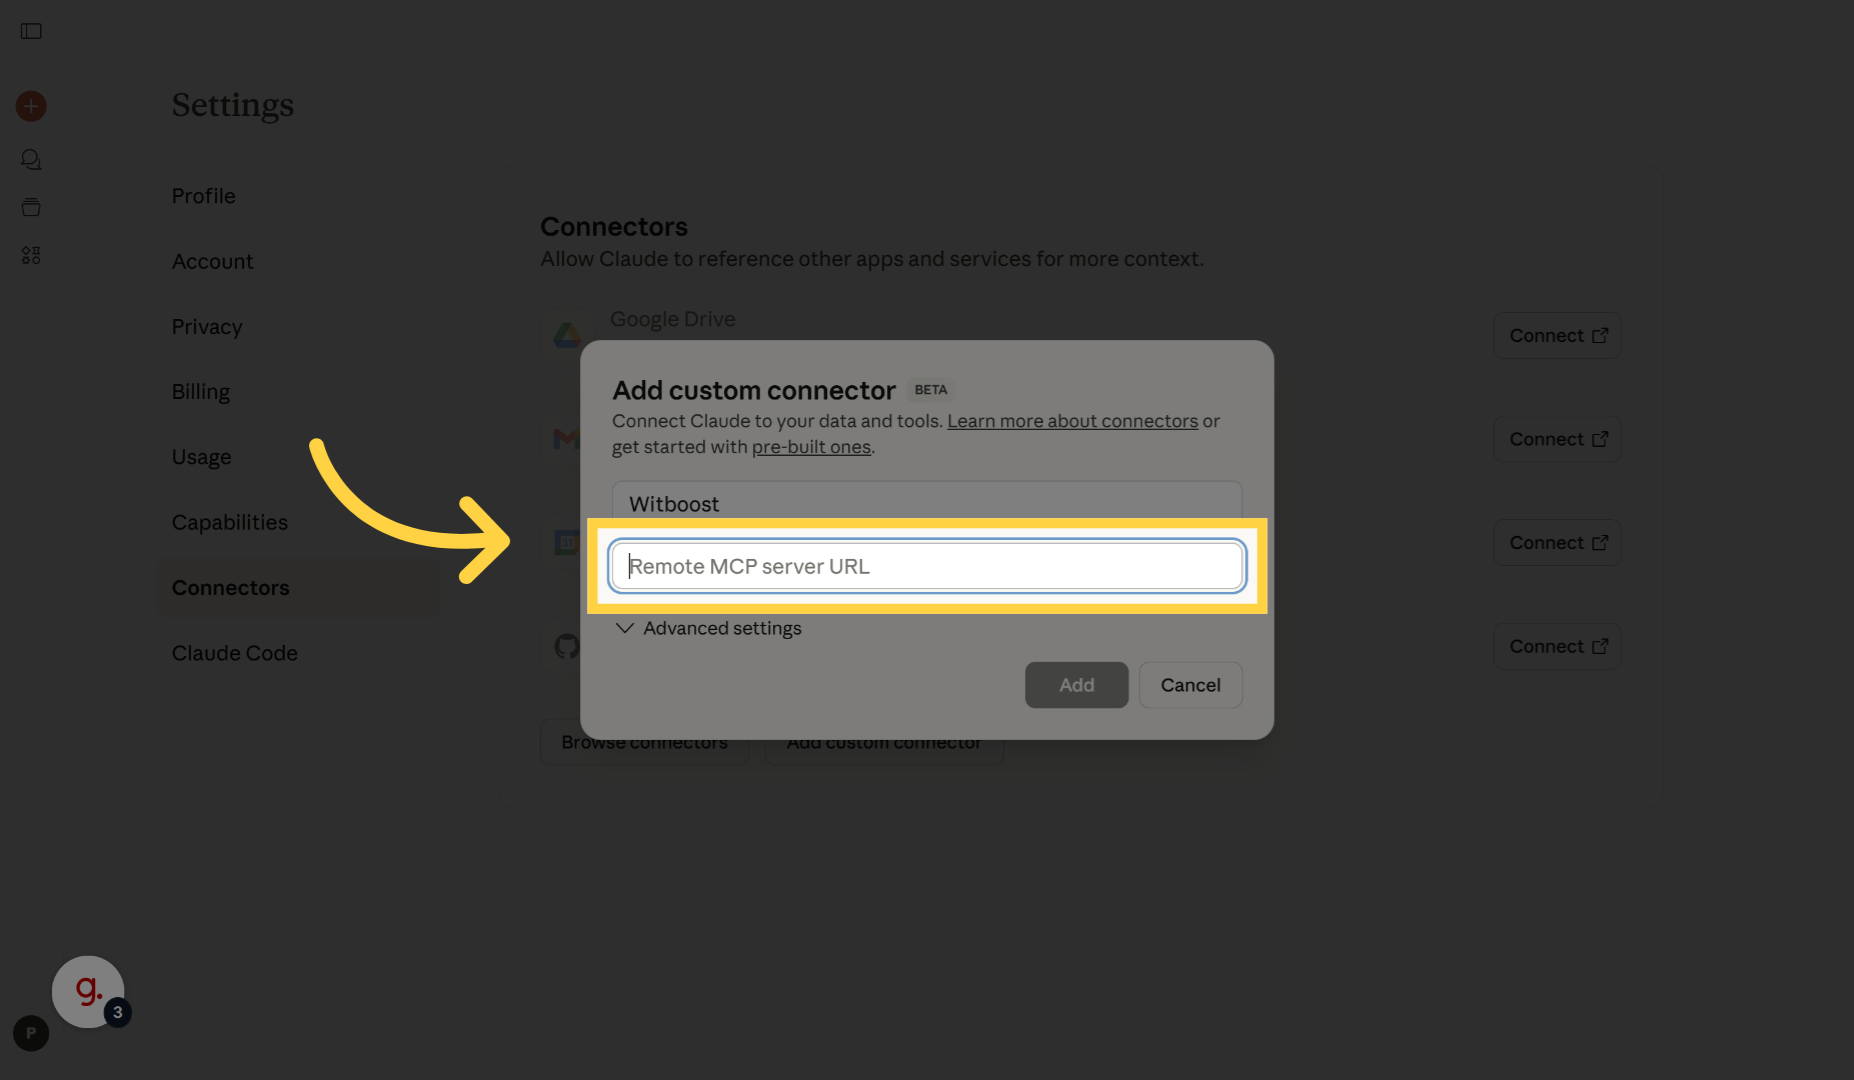
7. Enter MCP Server URL
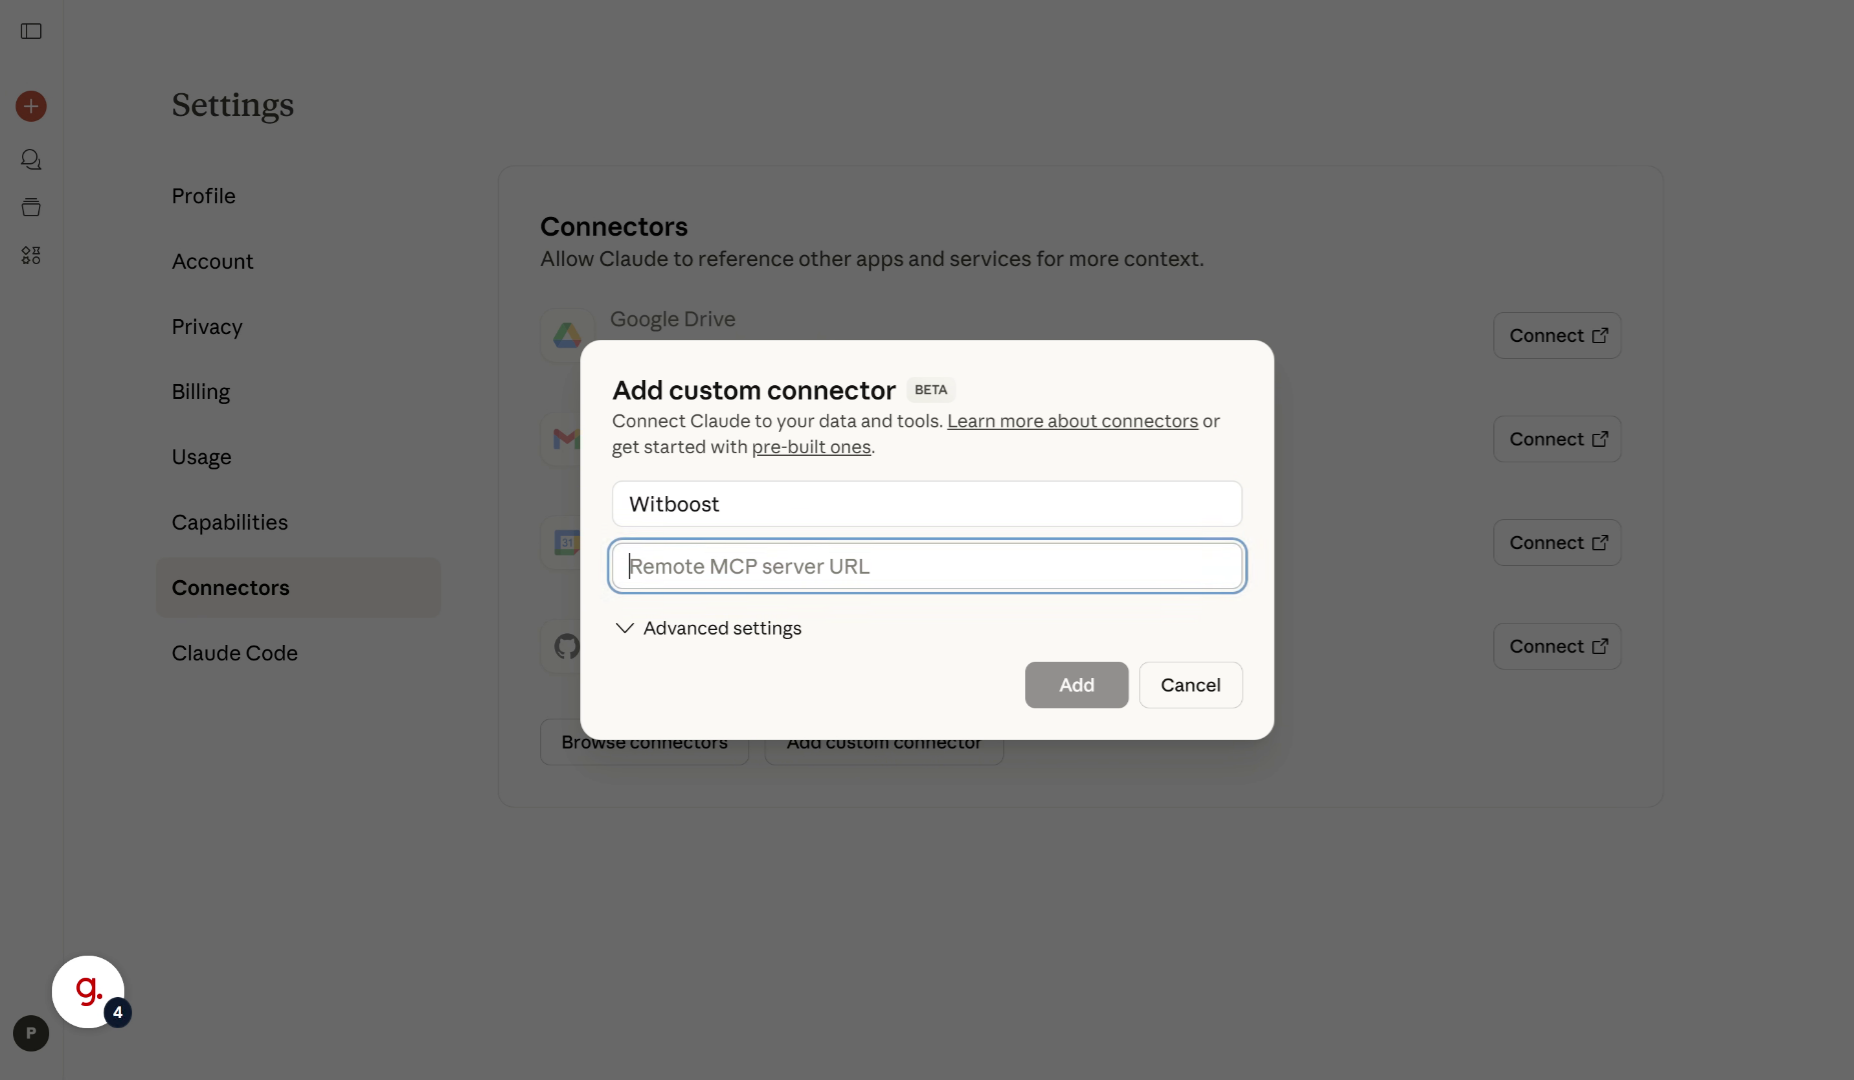
8. Add Custom Connector
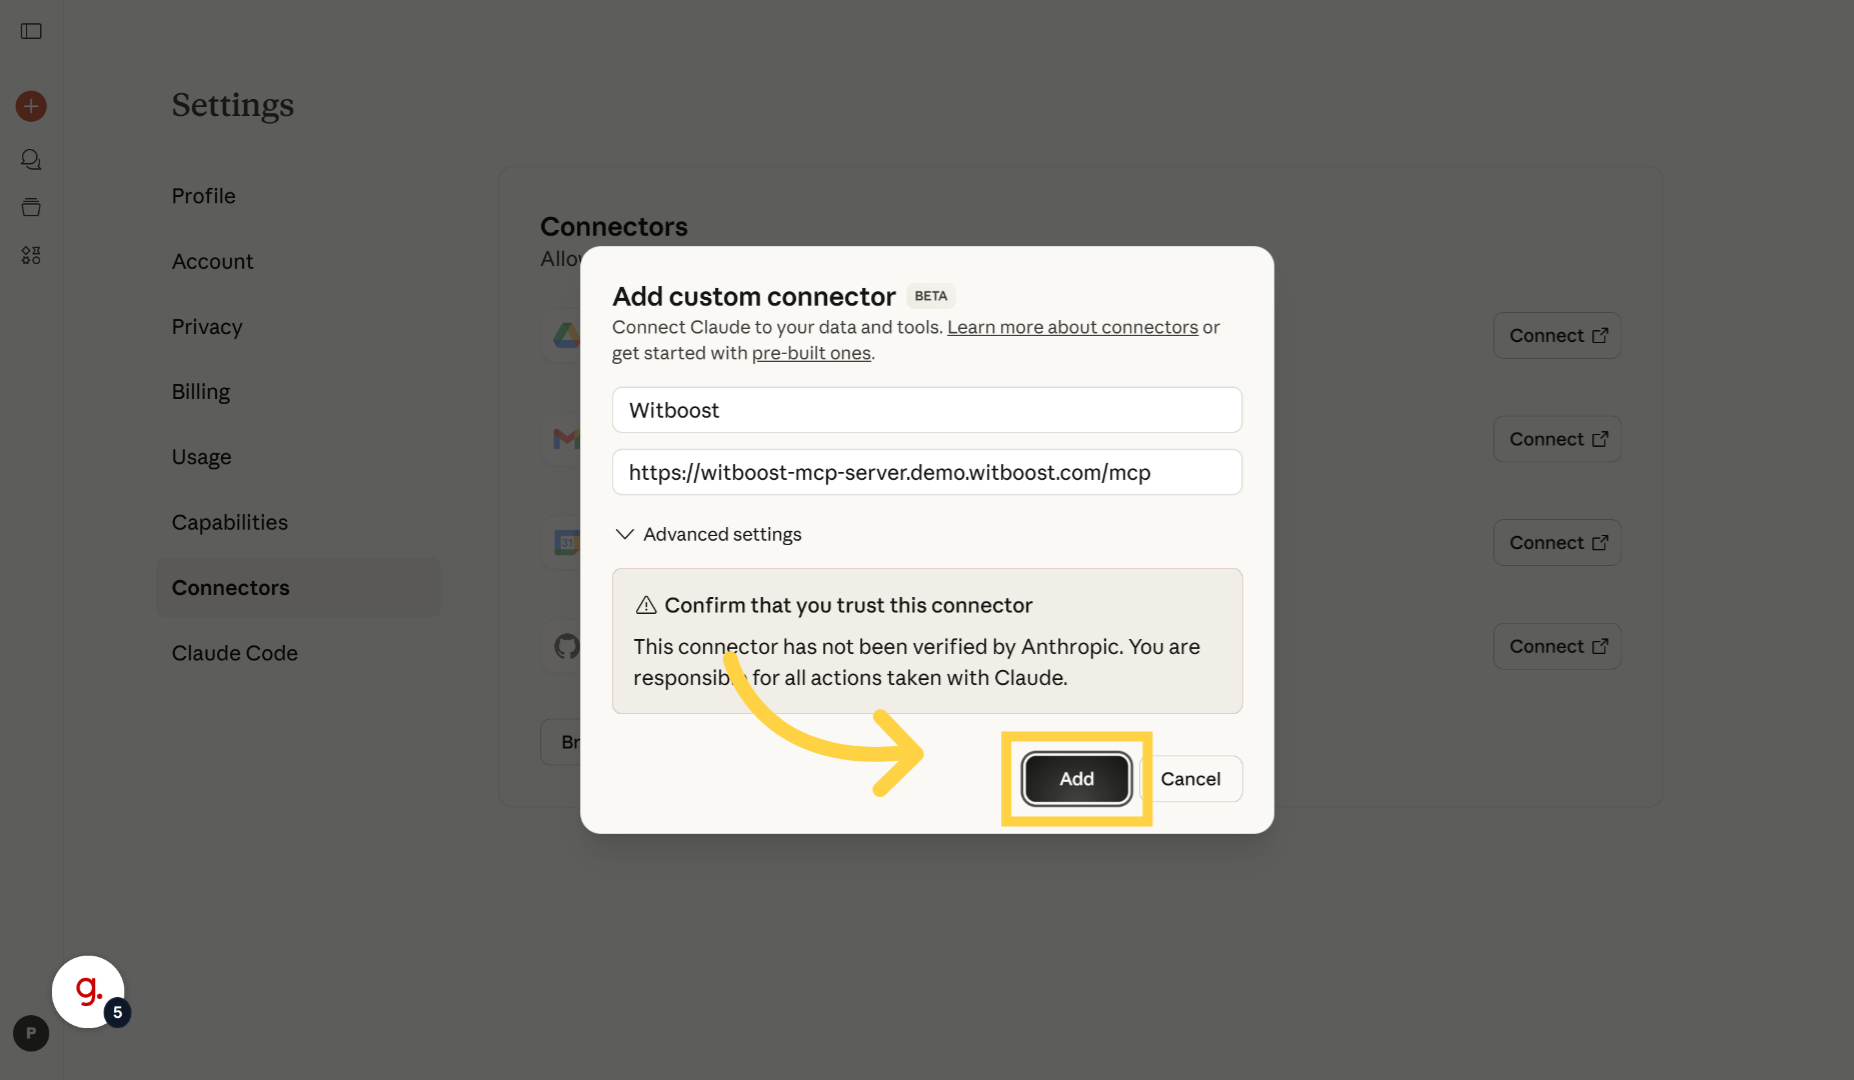
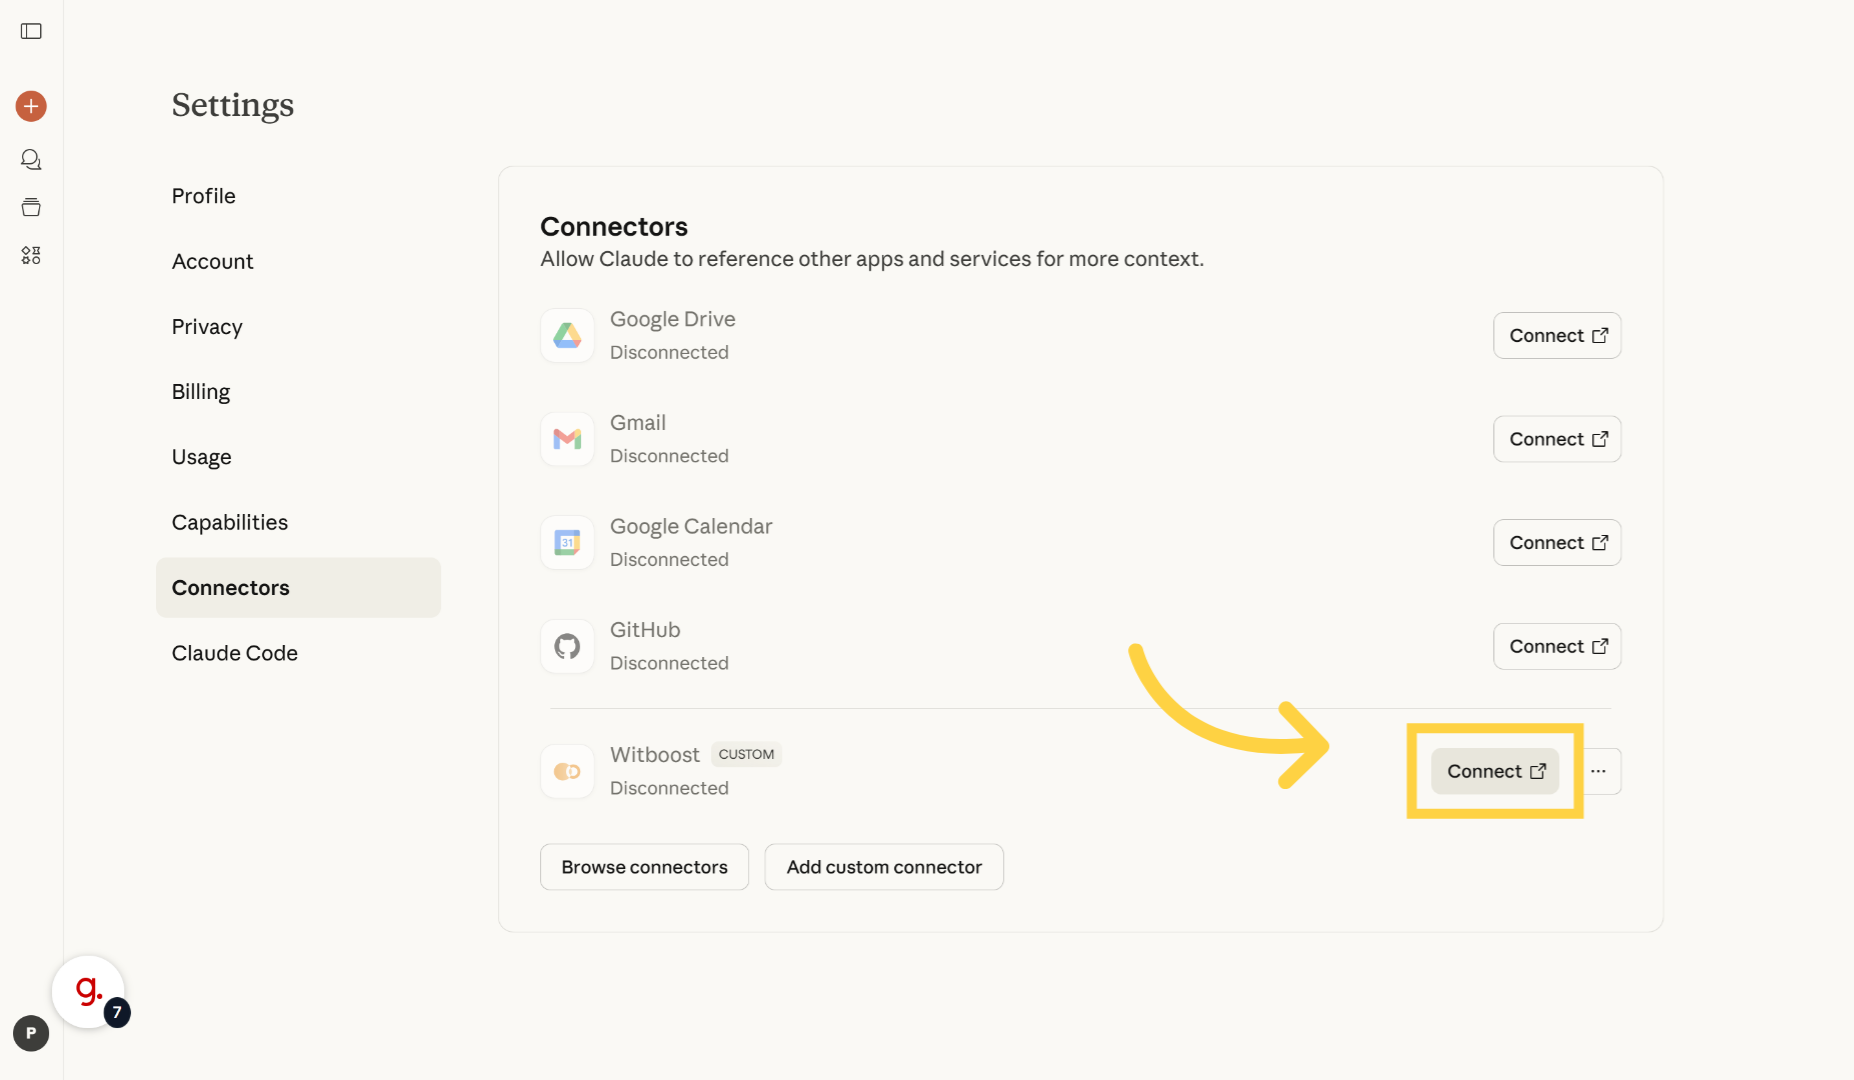
9. Connect to MCP Server
Click "Connect" to establish a connection with the Witboost MCP server.
10. Authorization
Witboost MCP Server has proper OAuth SSO authorization, so you need a Witboost user
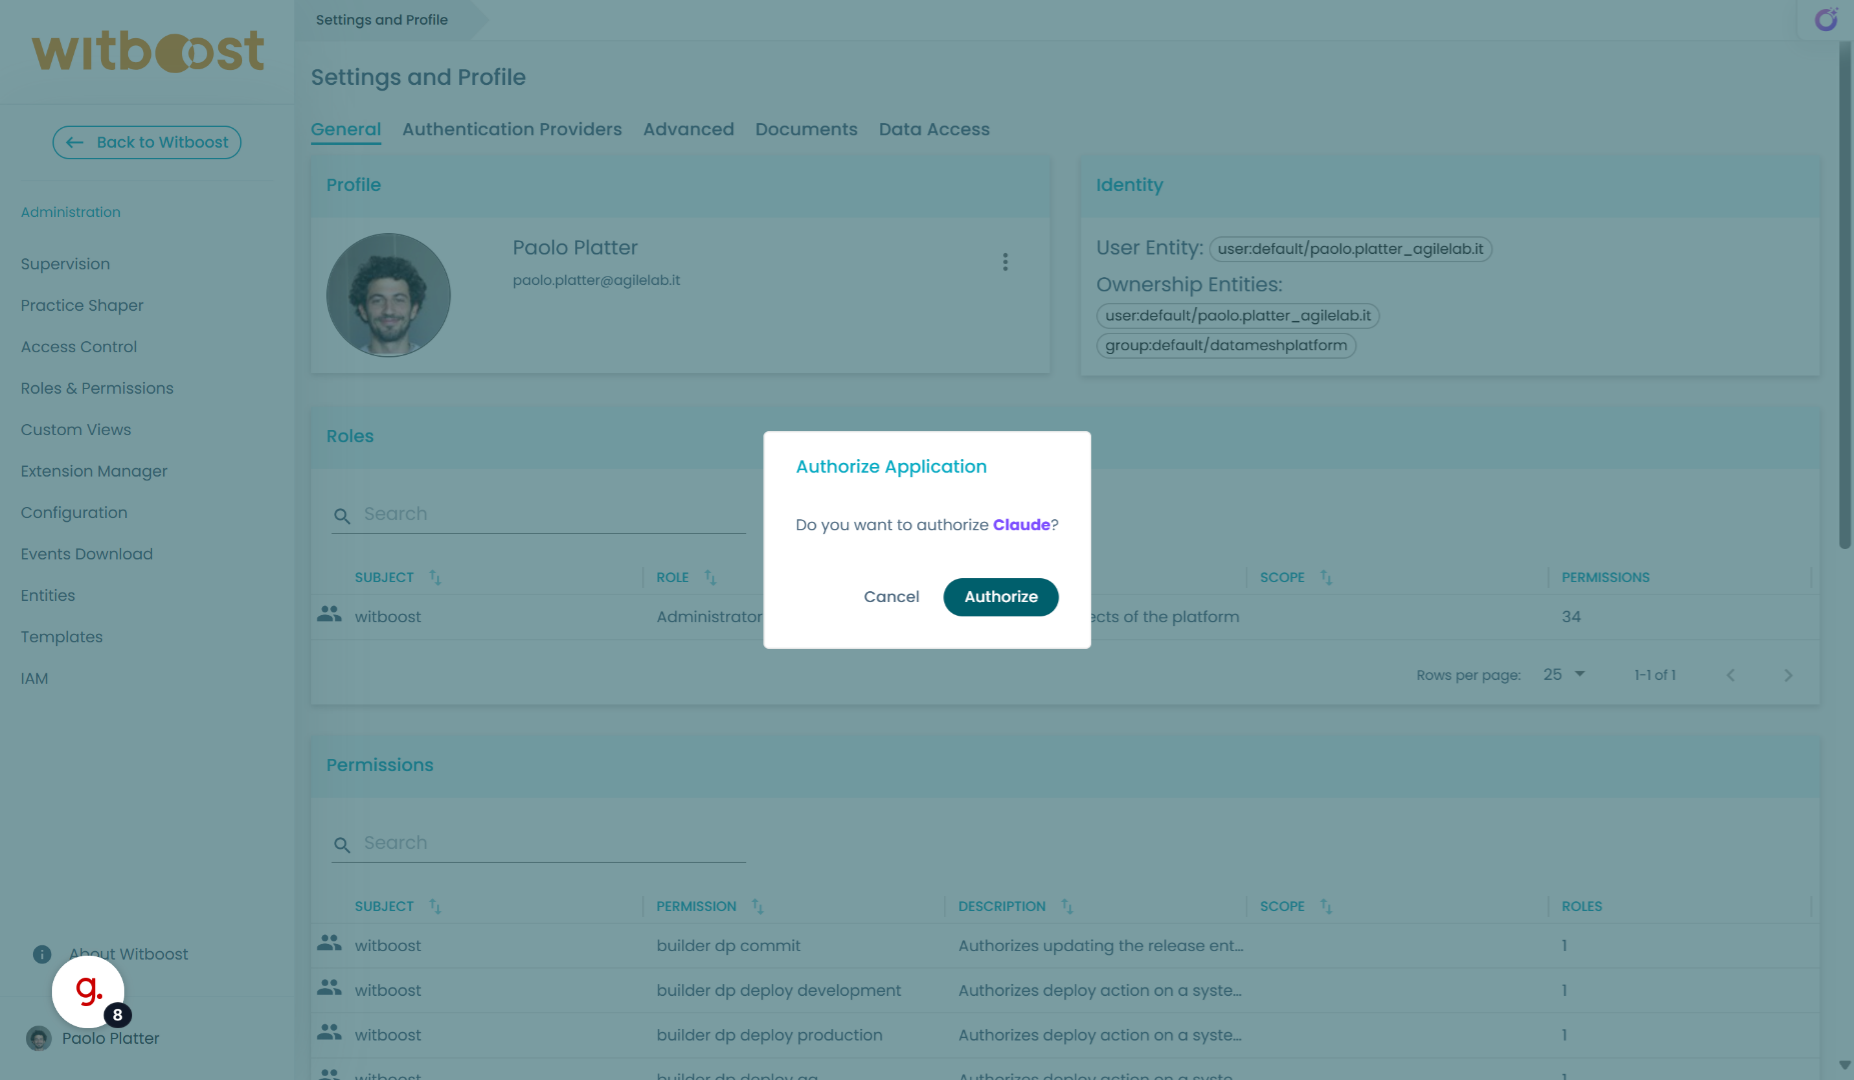
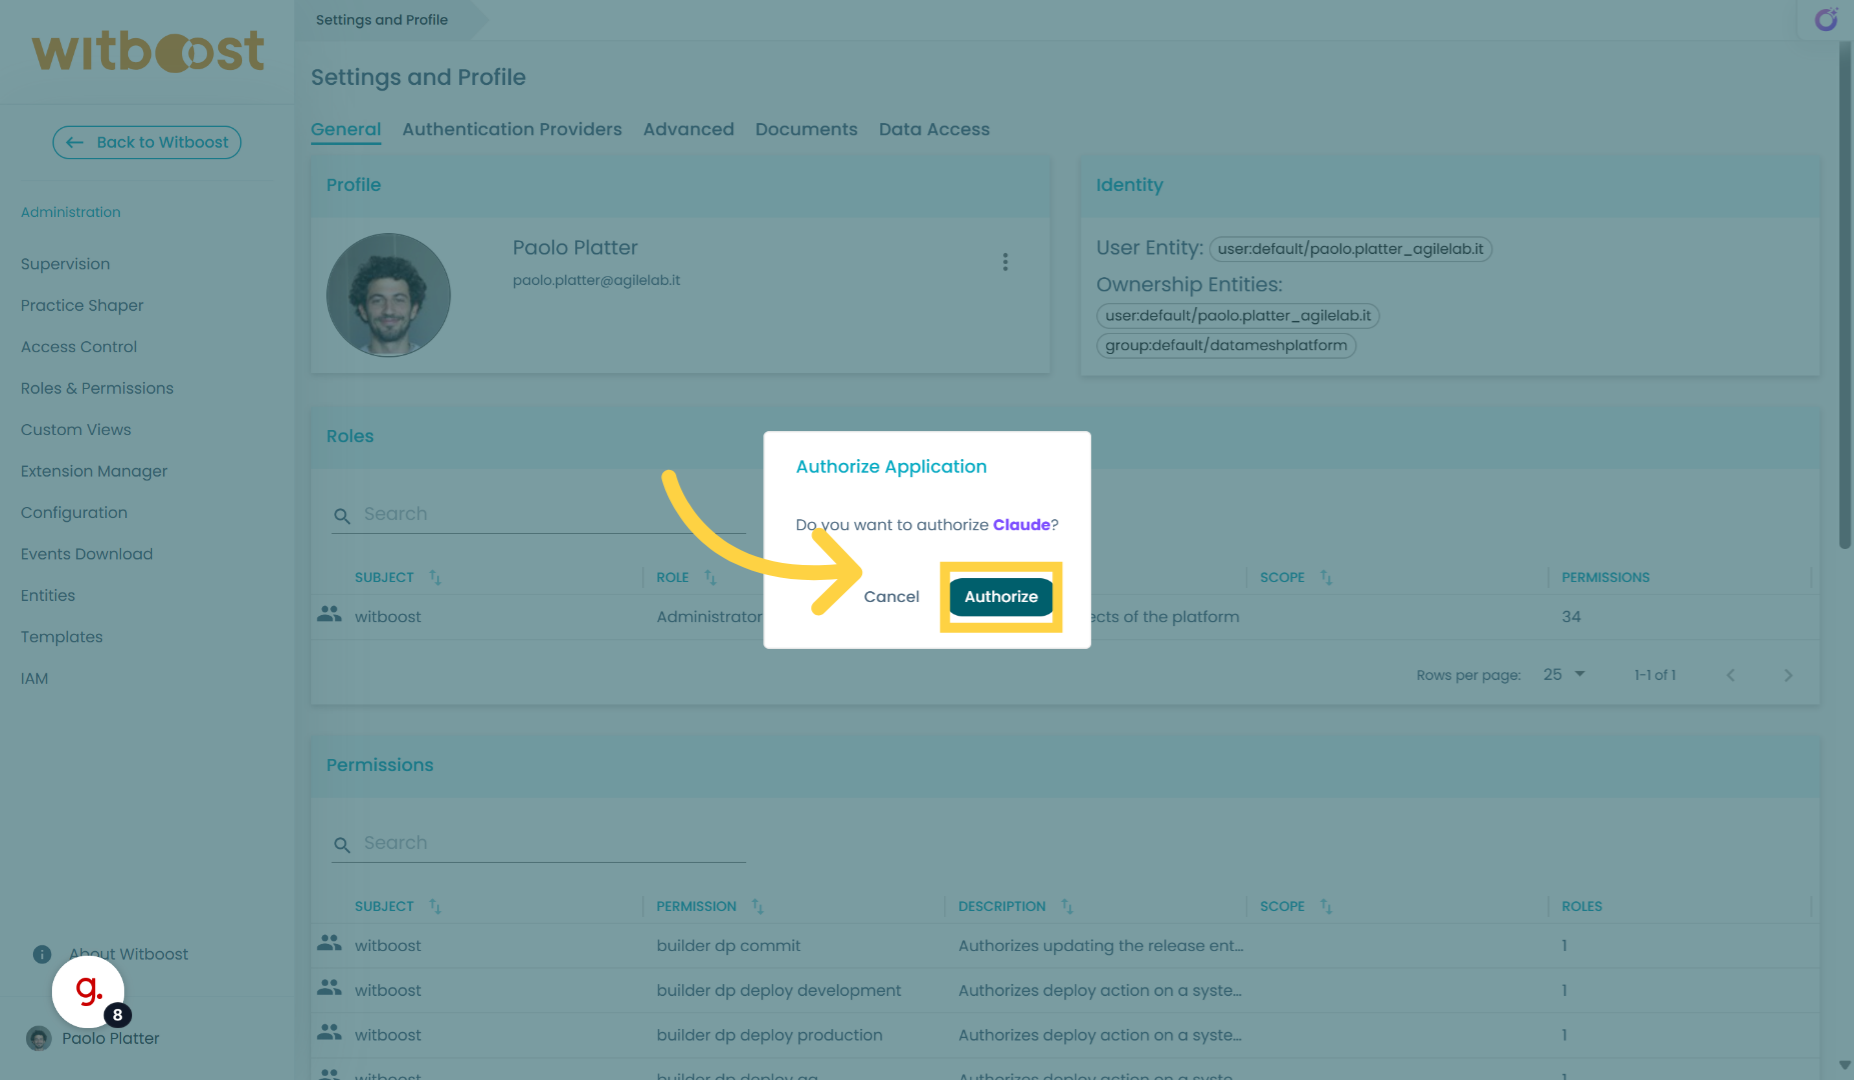
11. Authorize Connection
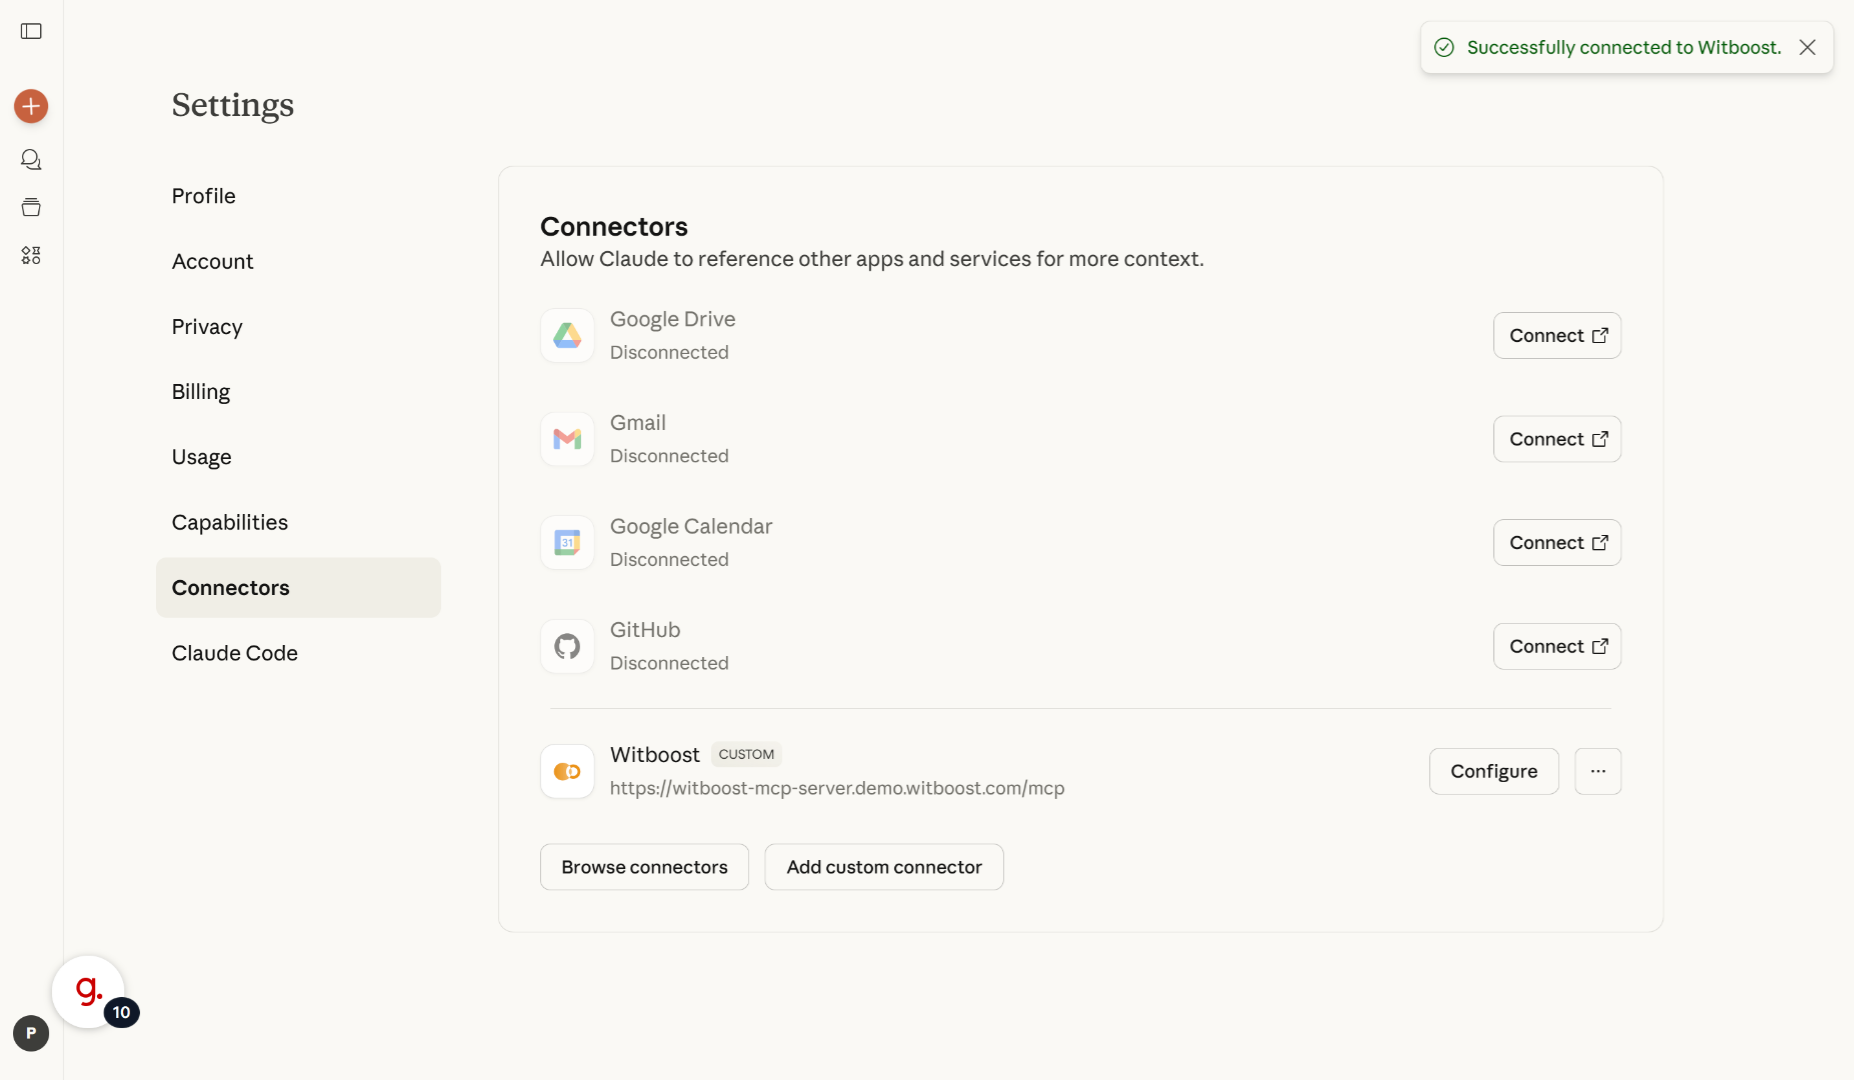
12. Ready
The configuration is now completed
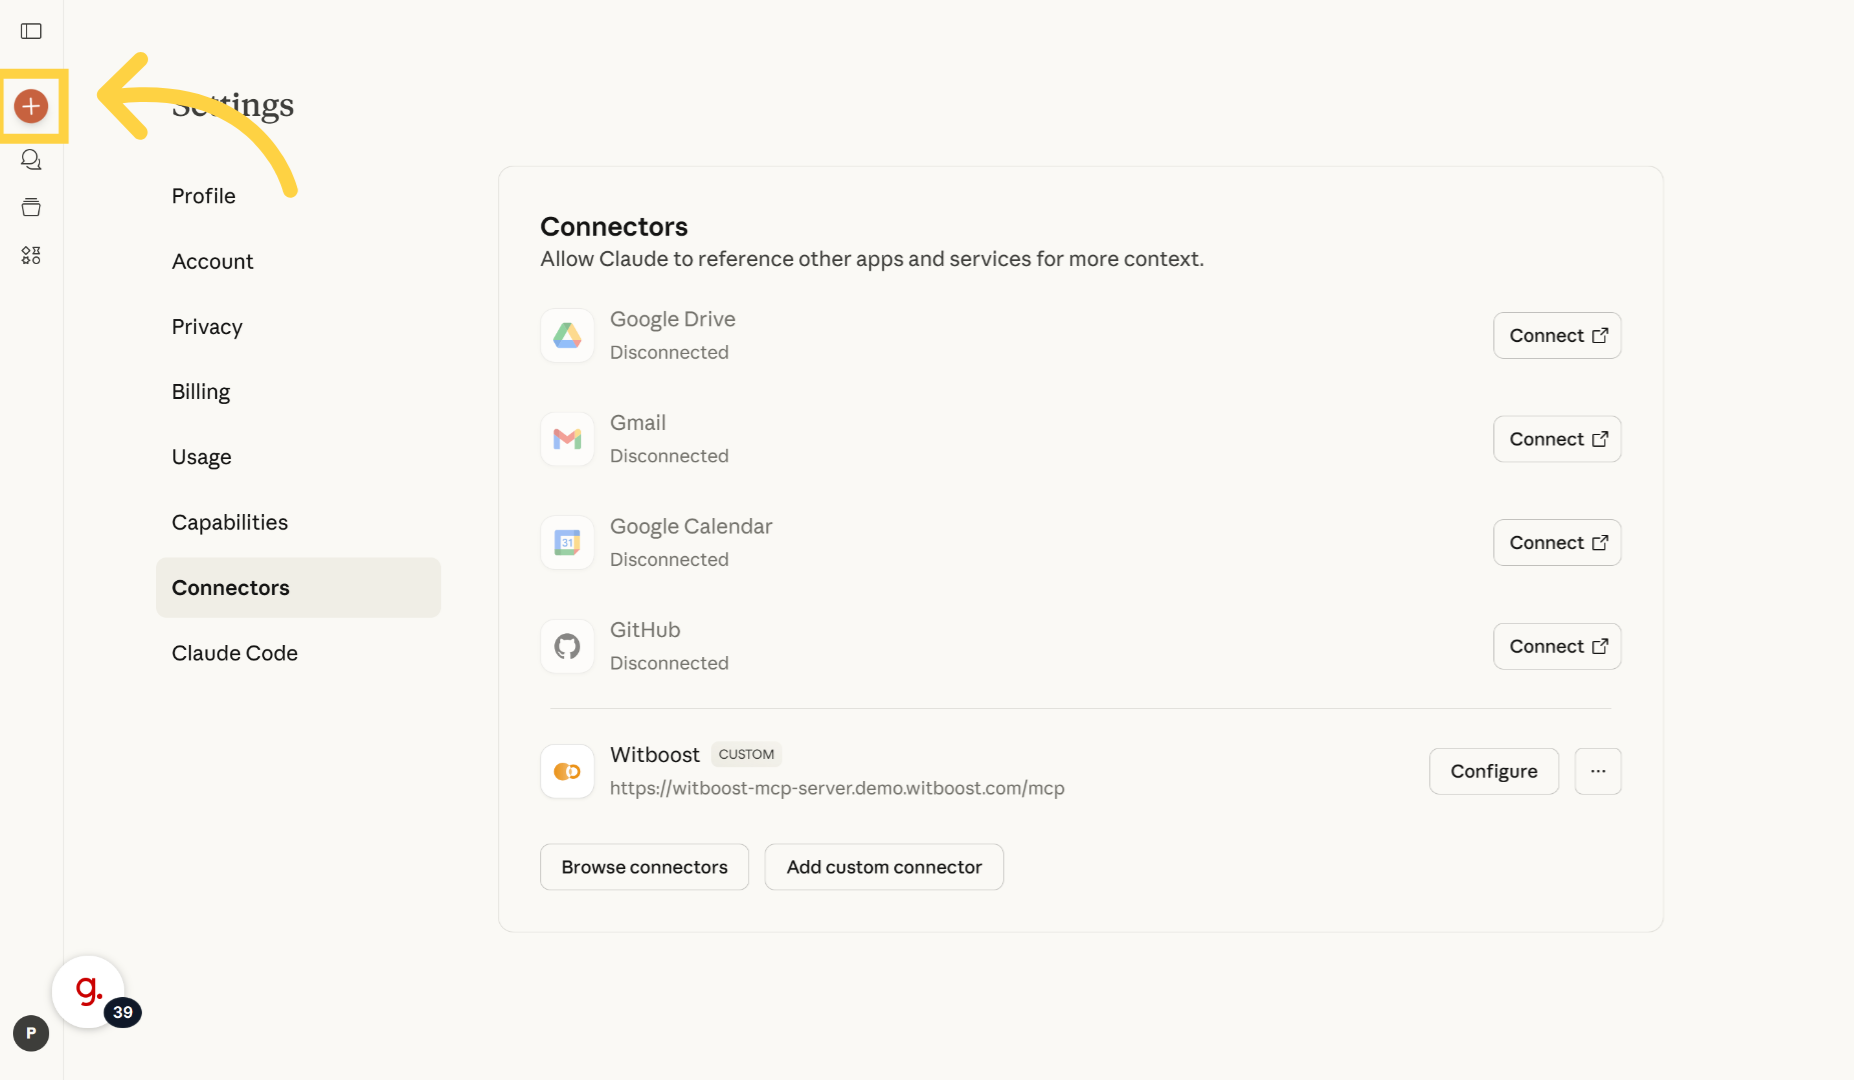
13. Open a new chat
Let's test it
14. Check
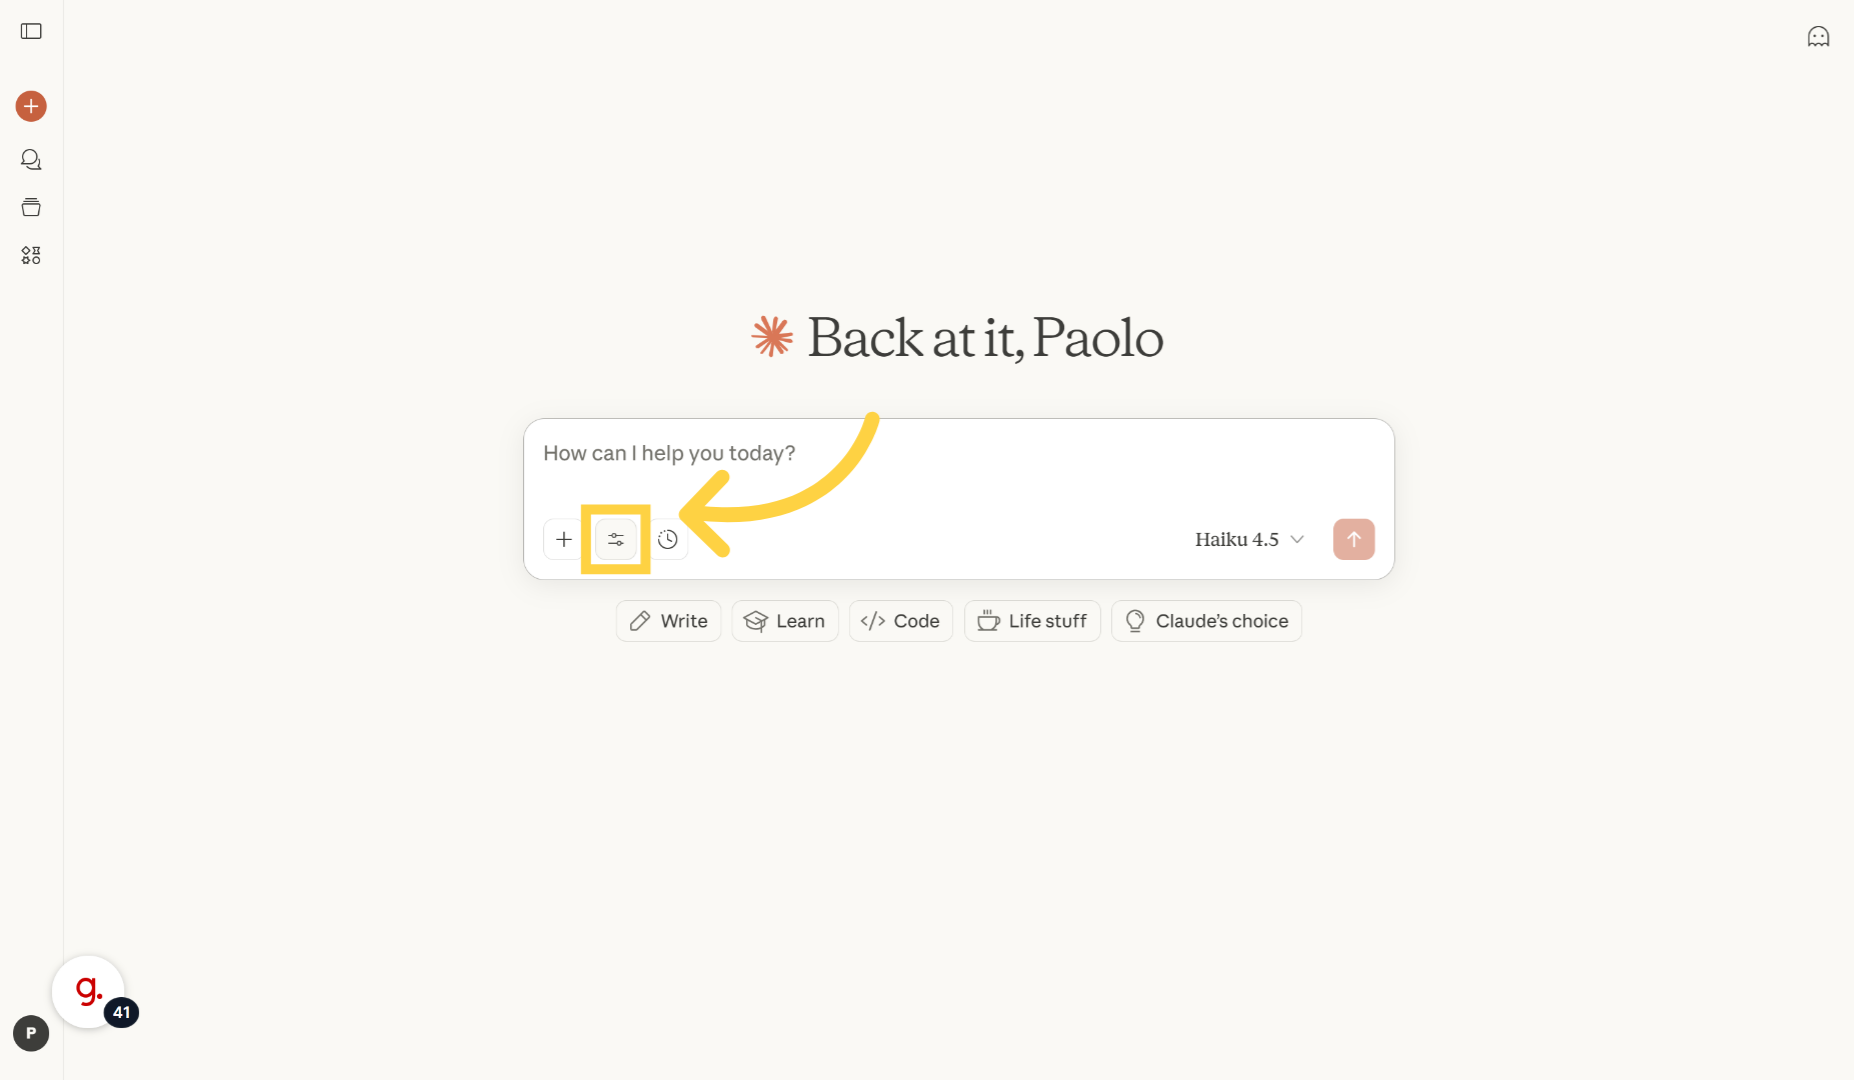
15. Connected and Enabled
The connector is enabled so we can try it
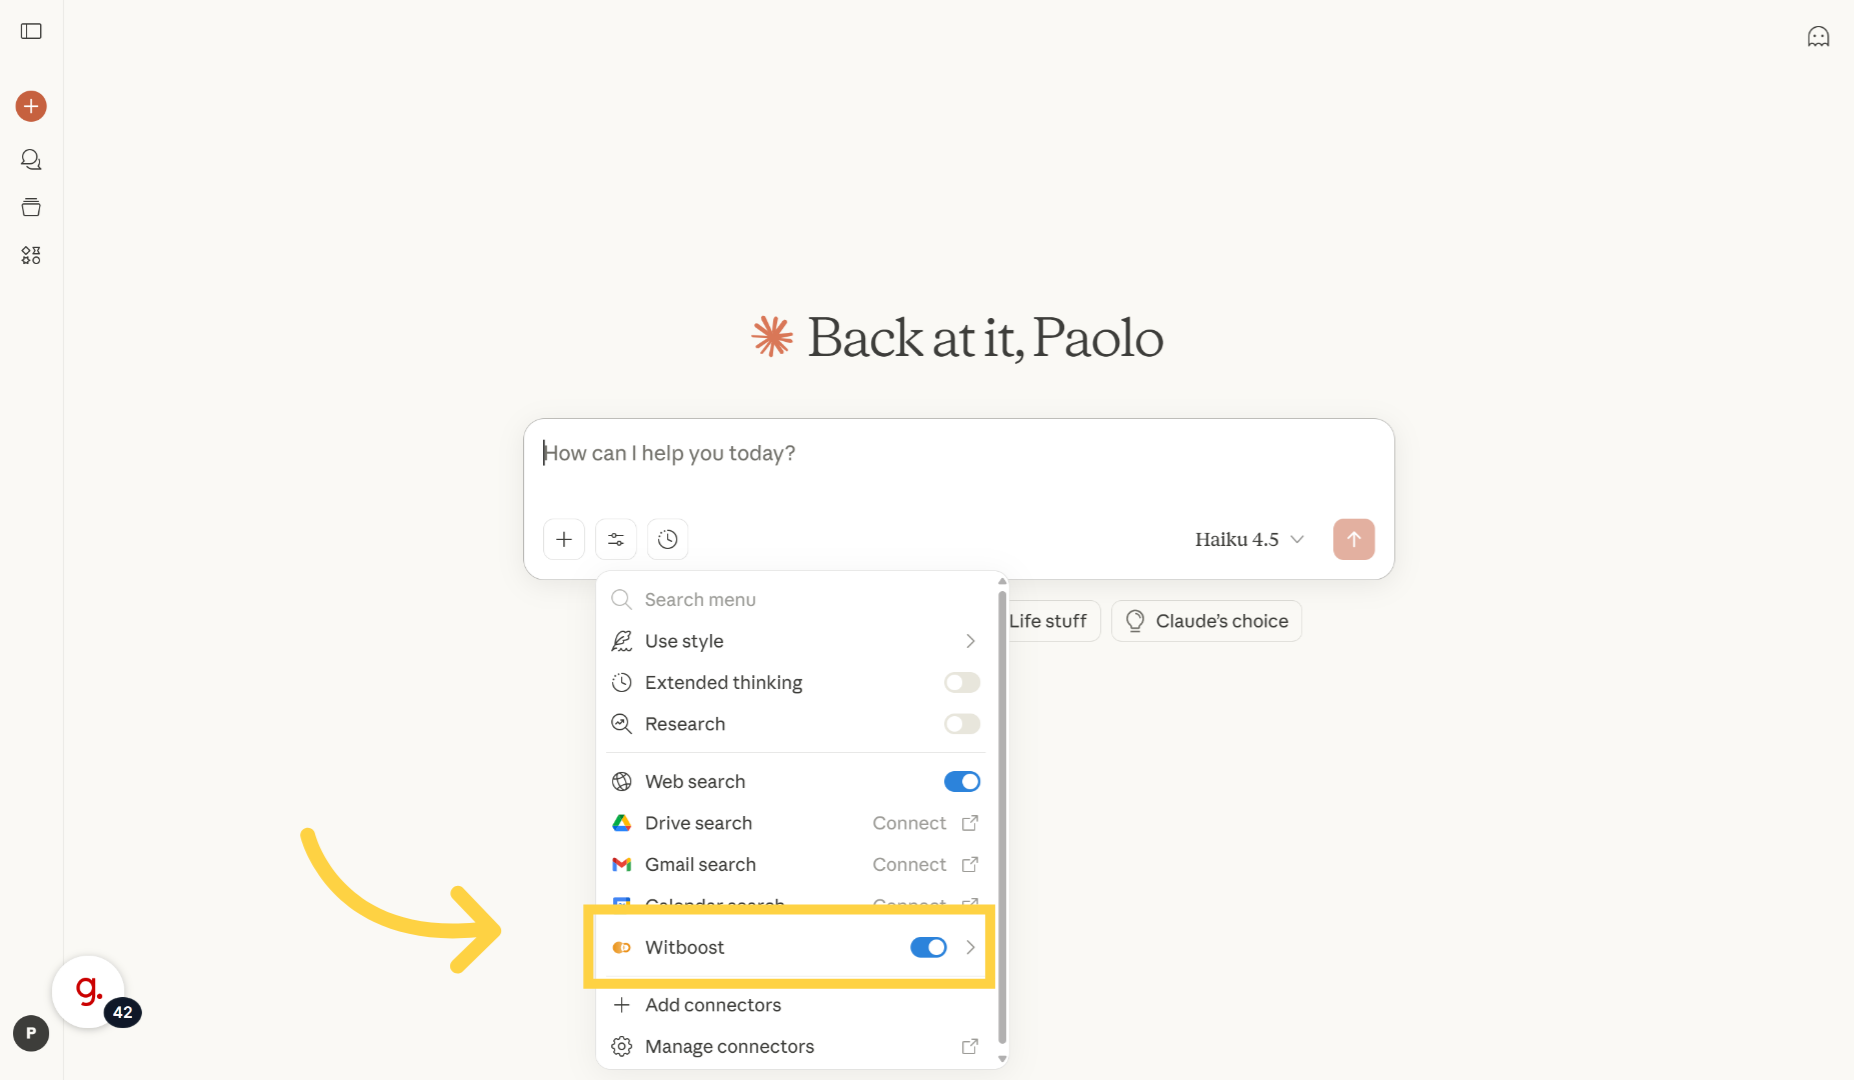
16. Overview
Let's find some useful data product to calculate a banking indicator
This demo showcased how to connect to the Witboost MCP Server to your AI Agent to explore the data product landscape of your company